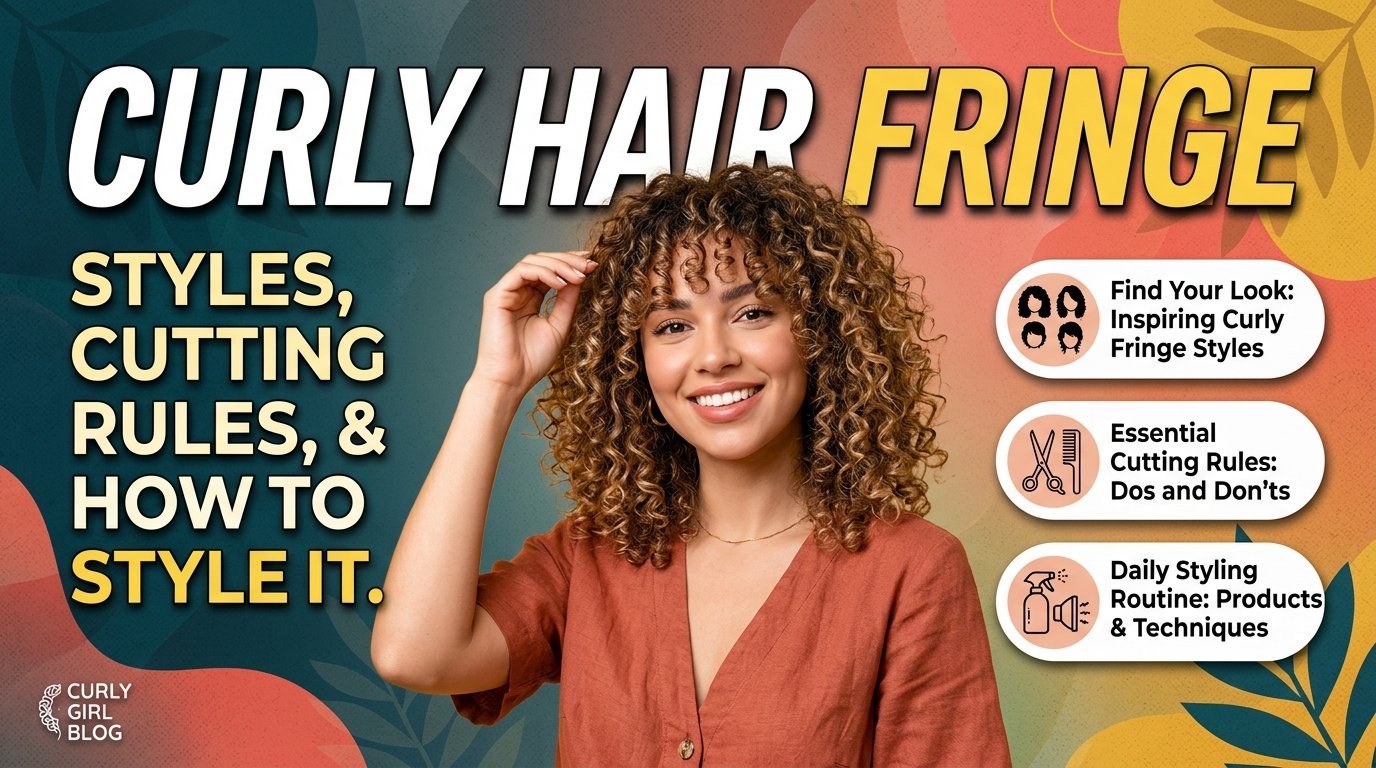
Curly Hair Fringe: Styles, Cutting Rules and How to Style It
Curls and fringes have a reputation for not getting along. It’s partly deserved: a fringe cut the way it would be on straight hair tends to go wrong on curly hair, because curls change length the moment they dry. But a fringe cut for your curls, with your pattern in mind, is one of the most flattering small changes you can make.
This guide covers who a curly fringe suits, which styles work with which curls, exactly what to say to your stylist, and how to keep it looking good once you’re home.
Can You Have a Fringe With Curly Hair?
Yes, you can. The cut just needs to work differently: ask for it to be cut dry, curl by curl, and start longer than you think you want, because curls spring up as they dry. Curtain, side-swept and brow-grazing fringes can all work, depending on your curl pattern, density and hairline.
Quick reference
- Cut it dry. Ideally with your curls freshly styled, so the stylist sees them as they’ll really sit.
- Start long. You can trim a fringe shorter; you can’t add length back.
- Pick the style to match your life. Curtain and side-swept fringes are the most forgiving. A full, brow-grazing fringe asks for more upkeep.
- Plan the upkeep. Small trims and a quick refresh routine keep it tidy.
- Plan the exit, too. Growing a fringe out takes months, so ask your stylist how it will blend into your layers.
A quick note on words: “fringe” is the UK, Irish and Australian term, and “bangs” is the American one. They mean the same thing.
Related: Curly Fringe Haircuts for Men: 12 Styles, Barber Tips and How to Style Them
Is a Curly Fringe Worth It? The Honest Pros and Cons
A curly fringe is not a no-effort haircut, and it’s better to know that before booking. It is, however, a very good one when it suits you.
What you gain
- Built-in volume and shape. Curls give a fringe movement that straight hair has to be styled to get.
- A softer frame for your face. Fringe draws attention to the eyes and breaks up a large forehead or strong jaw, depending on how it’s cut.
- A fresh look without losing length. The rest of your hair stays as it is.
- Less heat. If you wear it natural, there’s no daily straightening.
What it costs
- Regular trims. A fringe sits right in your eyeline, so it looks overgrown sooner than the rest of your hair.
- A few more minutes in your routine. Fringe picks up oil from your forehead, so it often needs a quick refresh between full washes.
- A stylist who understands curls. The result depends heavily on who holds the scissors.
- A slow exit. If you change your mind, the grow-out takes patience.
One of the stylists quoted in the press puts it well: the point of a fringe is that it suits you and makes life easier, and with curly, wavy or frizzy hair it can become a hindrance if it doesn’t. That’s the test to keep in mind throughout this guide.
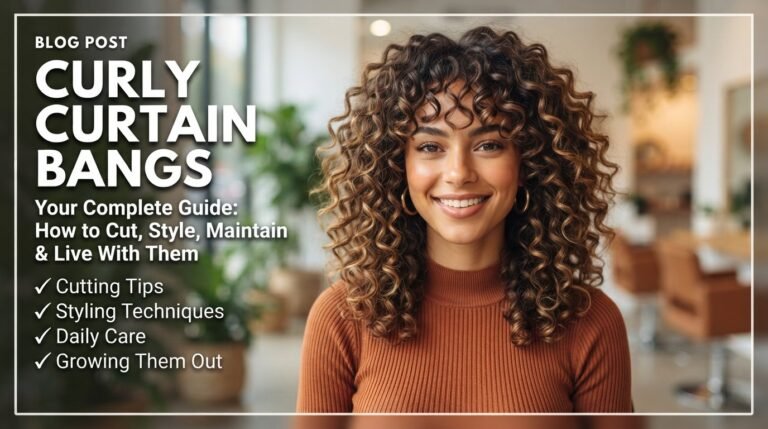
Related: Curly Hair Bangs: Styles, Cutting Tips, and How to Make Them Work Every Day
Why Curls Need Different Rules
The single biggest difference between cutting straight and curly fringe is shrinkage. When curly hair is wet, the weight of the water pulls it long and loose. As it dries, the curls spring back up, sometimes by several centimetres. A fringe that looks eyebrow-length in the salon chair can end up well above the brow once it’s dry.
This is why almost every curl-focused stylist recommends the same approach:
- Cut the fringe dry, not wet.
- Cut it longer than your final target.
- Cut it in small steps, checking where each curl lands.
Here is a simple way to preview the result before you commit. On dry, styled hair, take a small section from your front hairline, hold it down at the length you’re imagining, then let go. Watch where the curls settle. That spring-back is roughly what a fringe cut at that length would do on a normal day.
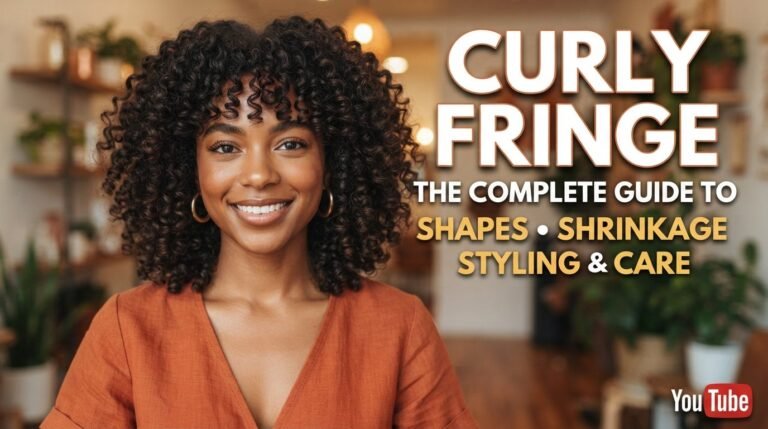
Related: Curly Fringe: The Complete Guide to Shapes, Shrinkage, Styling and Care
Curly Fringe Styles to Consider
There isn’t one “curly fringe”. These are the main options, and what each asks of you.
Curtain Fringe
Parted in the middle and swept to each side, curtain fringe is the usual starting point for people nervous about a first fringe. It’s longer, it blends into the rest of your hair, and it grows out more gracefully than a full fringe. On curls it tends to form soft, face-framing spirals.
Best for: first-timers, medium to long hair, anyone who wants to be able to tuck or pin it back. Watch for: keeping it light at the ends, so it doesn’t turn into a heavy block on thick hair.
Side-Swept Fringe
Cut longer and angled across the forehead, this one takes the pressure off a perfectly straight line. Curls give it a natural, tousled sweep, and it’s easy to wear off the face when you need to.
Best for: anyone who wants a softer, less committed fringe, or who has a strong side parting. Watch for: the angle. Ask to see where the shortest point will fall once the curls dry.
Brow-Grazing Full Fringe
This is the most dramatic option: a full, curled fringe that rests around the eyebrows. It looks striking on hair with a defined curl pattern and plenty of density, but it’s the highest-maintenance choice and the least forgiving of a cut that’s too short.
Best for: defined curls, density, and a willingness to maintain it. Watch for: length. Ask for it cut longer than the brow and shaped down from there.
Shaggy, Layered Fringe
A fringe cut into a shag or similar layered cut sits at the front of a larger shape. The layers give each curl room to stack and spring, so the fringe doesn’t look like a separate haircut stuck on the front. This is often the most flattering route for tighter curls.
Best for: medium to thick curls, and anyone who loves a lived-in look. Watch for: the connection. Ask your stylist to taper the fringe into the side layers so the whole cut looks intentional.
Curly Fringe on Short and Cropped Cuts
On a pixie, a crop or a tapered short cut, the fringe is the feature. Keeping the sides and back short while letting the top and front curl gives you contrast and shape with very little styling. This works for any gender and any curl pattern, and it’s one of the easier options to live with day to day.
Best for: short-hair wearers who want structure and definition. Watch for: the length at the front. Short curls shrink the most, so go a little longer than instinct says.
Choosing a Fringe by Curl Pattern
Your pattern changes how a fringe behaves, so use these as starting points rather than strict rules.
Loose Waves and Soft Curls
Looser patterns shrink less, which means a fringe stays closer to the length you cut. Wavy fringes can look flat or limp on some days, so a curtain or side-swept shape with light layering often gives the best movement. You also have the option of blow-drying it smooth on days you want a straighter look, as long as you’ve told your stylist about that in advance so they cut it to suit both.
Defined Curls and Ringlets
This is where almost any fringe style can work, because the curls hold their own shape. Curl by curl dry cutting is especially valuable here, as individual ringlets drop at different heights. Expect noticeable shrinkage and plan the length accordingly.
Tight Curls and Coils
Tighter patterns shrink the most and give the most volume, so a fringe tends to sit higher and fuller than the length would suggest. Choose a stylist who regularly cuts tightly curled and coily hair, ask for a dry cut, and lean toward shapes that celebrate volume: a shaggy fringe, a tapered crop, or a curtain fringe that frames the face. If you’d like to test the look before committing, a faux fringe is a good trial (more on that below).
Face Shape and Hairline: Guides, Not Rules
Face-shape advice is useful as a starting point, but your hairline, density and where your curls naturally fall matter just as much. Common stylist guidance runs along these lines:
- Round faces tend to look balanced with side-swept or curtain fringes that add some vertical line.
- Square faces are often softened by curtain fringes and gentle, curved shapes.
- Long faces can look shorter and more balanced with a fuller, brow-grazing fringe.
- Heart-shaped faces usually suit curtain or side-swept styles that balance a wider forehead.
- Oval faces have the widest choice, so lifestyle and maintenance can lead the decision.
If a shape you love isn’t on your face-shape list, bring a photo to the consultation anyway. A good stylist will adjust it for you rather than just say no.
Before You Commit: Five Quick Checks
- Check your hairline. A strong cowlick or a low, uneven or receding hairline at the front changes how a fringe will fall. Point it out in the consultation, and let your stylist decide where the fringe starts.
- Look at your forehead and climate. In humid weather, curls near the face can frizz or puff, and an oily forehead means the fringe may need freshening between washes.
- Be realistic about your routine. If you can give it five minutes most days, you’ll enjoy it. If you want to wake up and go, choose a longer, blendable shape.
- Think about your other hairstyles. If you often wear your hair up or back, ask how the fringe will behave in a bun or ponytail.
- Consider the grow-out. If you’d hate a short-term awkward phase, choose a curtain or side-swept style.
How to Ask Your Stylist for a Curly Fringe
The consultation is where most of the success is decided. Here is what to cover:
- “Please cut it dry.” If a stylist insists on cutting your fringe wet, think twice. Curl-specialist stylists are nearly unanimous that this is the safer approach.
- “Cut it curl by curl.” This lets each curl dictate its own length, rather than being cut as one straight line.
- “Start longer, and we’ll adjust.” Many stylists recommend beginning an inch or two longer than your target, then trimming down once they see how the curls settle.
- “How much will it shrink?” Ask for an honest answer for your specific pattern.
- “Is this cut for natural curls or blow-drying?” If you plan to wear it both ways, say so.
- “Blend it into my layers.” Ask for the fringe to taper into the sides so it looks part of the cut.
- “What’s the grow-out plan?” Some fringes can blend into layers within a single cut cycle. Ask in advance.
- “Can you show me how to refresh it?” A two-minute demonstration pays for itself.
A sentence you can say almost word for word: “I’d like a curly fringe cut dry, curl by curl, starting a little longer than eyebrow length. Can we trim it down in stages?”
Bring one or two photos of the shape you like, but also of how it looks on hair that resembles yours. A fringe on a looser curl pattern won’t sit the same way on tight coils.
How to Style a Curly Fringe at Home
The aim is to encourage your natural curl pattern rather than fight it.
- Start with clean, damp fringe. Product works best on damp curls. If the rest of your hair is a day or two from a wash, you can wet, restyle and refresh the fringe only.
- Apply a small amount of product. A lightweight curl cream or gel is enough. Too much will weigh the fringe down, make it greasy or leave it crunchy. Start with less than you think.
- Shape the curls. Scrunch gently upwards, or wrap a few curls around a finger to define them.
- Dry with minimal disturbance. Use a diffuser on a low heat and a gentle airflow, or let it air-dry. Keep your hands away until it’s fully dry.
- Break the cast, if you used gel. Once it’s completely dry, scrunch very gently to release the curls into soft, bouncy shapes.
- Add a finishing touch. A tiny amount of oil or anti-frizz serum on the ends can add shine and keep frizz down, especially in humidity.
If your fringe is flat at the root, a small clip placed on the damp hair at the root while it dries can help it lift. Take it out once it’s completely dry.
Keeping It Looking Good Between Washes and Trims
Refresh instead of re-washing. A light spritz of water, a little product, and a quick diffuse is often enough to revive a fringe.
Protect it overnight. A loose satin scarf, a bonnet or a soft scrunchie placed away from the front helps reduce flattening and frizz.
Keep your hands off. Constantly touching or pushing a fringe out of your face separates curls and creates frizz. If it bothers you, a headband or clip can hold it back.
Trim often and in small amounts. Because the fringe is so visible, it can look overgrown sooner than the rest of your hair. Ask your stylist what interval suits your growth rate. Four to six weeks is commonly suggested, and many salons offer quick fringe trims between appointments.
Be careful with heat. If you occasionally straighten your fringe, use a heat protectant, keep the temperature as low as works, and avoid doing it every day.
Common Curly Fringe Mistakes
- Cutting wet. The classic one. The fringe ends up shorter than planned, and only time can fix it.
- Cutting it too short at the start. Short is permanent for months; long can always be adjusted.
- Cutting it in a straight line. A blunt edge can look like a block on curls. A curl-by-curl or lightly textured finish looks more natural.
- Too much product. It weighs curls down and leaves the fringe flat, greasy or stiff.
- Ignoring the cowlick. Fighting a cowlick is a daily battle. Work with it.
- Skipping trims. An overgrown fringe is hard to style and ends up in your eyes.
- Copying a photo without considering your texture. A style on someone with looser curls will not look the same on tighter coils.
Growing Out a Curly Fringe
If you decide it isn’t for you, don’t panic. Most curly fringes are less awkward to grow out than straight ones, because the curls give the front of your hair volume and movement that hides the in-between stage.
How long it takes depends on how short it was cut and how fast your hair grows. Some people are back to blending in within a few months; for others, it takes closer to a year. Curtain and side-swept shapes usually blend soonest.
- Ask for a “grow-out” plan at the time of cutting, so the fringe can be shaped into face-framing layers.
- Book light trims to keep the shape tidy while it lengthens.
- Use accessories such as clips, headbands or a half-up style for the awkward stage.
- Style it to the side. A side parting can make the in-between length look deliberate.
Not Ready to Commit? Try a Faux Fringe or Face-Framing Layers
If you’d like to test the look, you have a couple of low-risk options.
Faux fringe. You can create a fringe effect without cutting by pulling a small section of hair from the front, styling it forward and securing the rest back. Hair brands and curl specialists share tutorials for doing this on curly and coily hair. It gives you a feel for the shape and how much styling it needs.
Face-framing layers. Longer layers around the face frame your features in a similar way, with much less commitment. They’re also a gentle way to “pre-grow” a future fringe.
Frequently Asked Questions
Does a fringe suit curly hair?
It can. A fringe suits curly hair when it’s cut dry, kept long enough to allow for shrinkage and shaped for your curl pattern, density and hairline. Fine, very low-density or strongly cowlicked fronts may need extra planning.
Should a curly fringe be cut wet or dry?
Dry is the safer choice. Curls change length as they dry, so cutting wet means guessing the final result. Dry cutting lets the stylist see where each curl actually falls.
How long should a curly fringe be?
Longer than you expect. A common rule of thumb is to begin an inch or two longer than the finished length you want, then trim in stages. How much your hair shrinks depends on your curl pattern.
How often should I trim a curly fringe?
The usual advice is every four to six weeks, but it depends on how fast your hair grows and how neat you like it. Many salons offer inexpensive fringe-only trims between full cuts.
Can I wear a curly fringe straight?
Yes, though it needs more work and heat. If you want to wear it both ways, tell your stylist before the cut so they can shape it to suit both.
Is a curly fringe high maintenance?
It takes a little more than the rest of your hair, mainly regular trims and a quick refresh routine. A curtain or side-swept fringe is usually the easiest to live with.
How long does a curly fringe take to grow out?
From a few months to around a year, depending on its starting length and your hair’s growth rate. Curtain and side-swept styles tend to blend in the soonest.
Final Thoughts
A curly fringe can look easy and effortless, but the effortless part comes from the planning: a stylist who understands curls, a dry cut, a bit of extra length to start with, and a simple routine you can keep up. If you’re unsure, begin with a curtain or side-swept style, since both are easy to adjust or grow out. Once you’ve seen how your curls behave in front of your face, you’ll know whether to go shorter, fuller or stay exactly where you are.

Daniel Carter is the Senior Men’s Grooming Editor at FadeBuzzCut, where he specializes in fade buzz cuts, barbering techniques, men’s hairstyles, and evidence-based grooming advice. With more than 12 years of experience researching haircut trends, clipper techniques, face shape recommendations, and hair care, he creates in-depth guides that help readers confidently choose, maintain, and style modern buzz cuts.
Daniel works closely with experienced barbers, grooming professionals, and trusted industry resources to ensure every guide reflects current barbering standards and practical, real-world advice. His editorial approach combines expert research, clear explanations, and user-focused recommendations to make men’s grooming accessible for beginners and experienced enthusiasts alike.
At FadeBuzzCut.com, Daniel oversees editorial quality, content accuracy, and regular updates so readers receive reliable, up-to-date information on fade buzz cuts, beard combinations, hairstyle trends, clipper guard lengths, maintenance routines, and grooming products. Every article is written with a commitment to Experience, Expertise, Authoritativeness, and Trustworthiness (EEAT) while delivering helpful answers for both readers and AI-powered search experiences.
Whether you’re choosing your first fade buzz cut, comparing low, mid, or high fades, or looking for practical maintenance tips, Daniel’s goal is to provide trustworthy guidance that helps you achieve the best possible results.